
Most advice on shrinking images says “use 80% quality” and stops there. We wanted to know what that number actually does, so we pushed two photos and a screenshot of our own calculator through the same in-browser encoder the Image Compressor uses, at 13 quality levels, several sizes and three formats, and wrote down every file size. This guide is what the numbers say, including a few results we didn't expect.
How we tested, and what it can't tell you
We used three source files: the two 1024×1024 sample photos that ship with our tools (a portrait, 687 KB, and a product shot, 596 KB), and a 2560×1560 screenshot of our EMI calculator. Each was decoded, redrawn and re-encoded with the browser's own canvas.toBlob, which is what the Image Compressor does. We recorded the file size and also a quality score called PSNR, measured in decibels (dB) against the original pixels. As a rough guide, scores above about 40 dB are very hard to tell from the original and scores below about 32 dB usually show visible damage. PSNR measures how far the pixels moved, not how the picture looks to you, so we also show the images themselves.
Three limits. Two photos is a small sample, and other pictures compress differently (a photo of a clear sky shrinks far more than one of a tree). We only tested Chrome's encoder, and the 0–100 quality scale in other programs is not the same scale. And we did not test a 12-megapixel phone photo, so where this guide talks about phone photos, the figures are arithmetic from our measurements and we say so.
What the quality slider really does to file size
File size does not fall in a straight line as quality drops. It collapses between 100% and 90%, then flattens out. Here is the same 1024×1024 photo saved as JPG at each setting.
| Quality | Portrait (original 687 KB) | vs original | Product (original 596 KB) | vs original |
|---|---|---|---|---|
| 100% | 897 KB | 131% | 744 KB | 125% |
| 95% | 283 KB | 41% | 222 KB | 37% |
| 90% | 186 KB | 27% | 138 KB | 23% |
| 85% | 142 KB | 21% | 102 KB | 17% |
| 80% | 119 KB | 17% | 84 KB | 14% |
| 75% | 102 KB | 15% | 73 KB | 12% |
| 70% | 92 KB | 13% | 66 KB | 11% |
| 60% | 76 KB | 11% | 55 KB | 9% |
| 50% | 66 KB | 10% | 48 KB | 8% |
| 30% | 46 KB | 7% | 35 KB | 6% |
| 10% | 20 KB | 3% | 17 KB | 3% |
Three things stand out:
- The first 5% costs the most. Going from 100% to 95% removed about two thirds of the portrait (897 KB to 283 KB). The next step down to 80% removed another 164 KB, and everything from 80% to 50% saved only 53 KB more.
- 100% is a trap. Both sample photos were already compressed JPGs. Re-encoding them at the top setting stores every flaw of the old compression at full precision, so the new file is larger than the one you started with. The Image Compressor warns you when a result comes out bigger than the original.
- The sweet spot is 75–85%. At 80% the portrait scored 39.1 dB, close to the 41.5 dB it scored at 90%, for a file 36% smaller than the 90% one.
What compression looks like when it goes wrong
Numbers hide the thing you actually care about, which is whether it looks bad. Compression shows first on sharp edges and small text, so we zoomed into the “Total Interest” card of our calculator screenshot (3× magnification, no smoothing) and saved the same detail six ways.
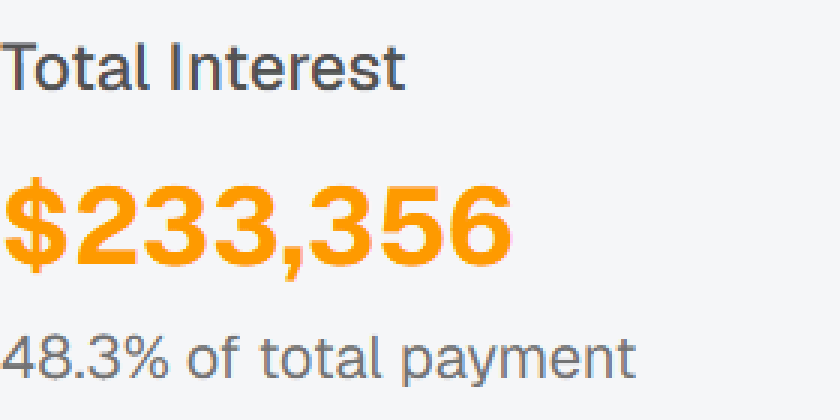
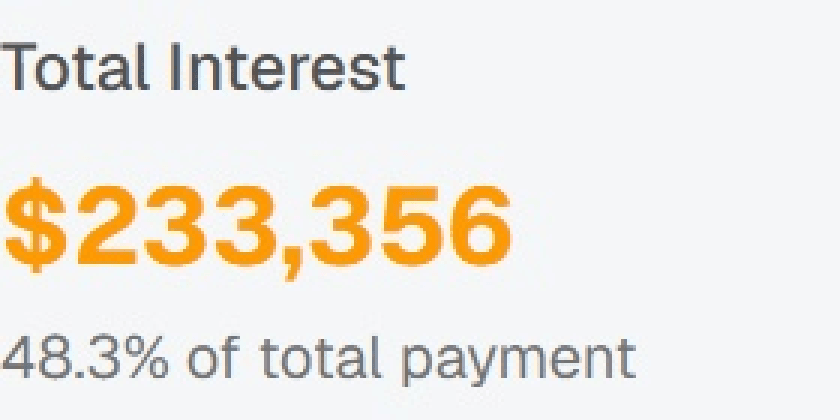
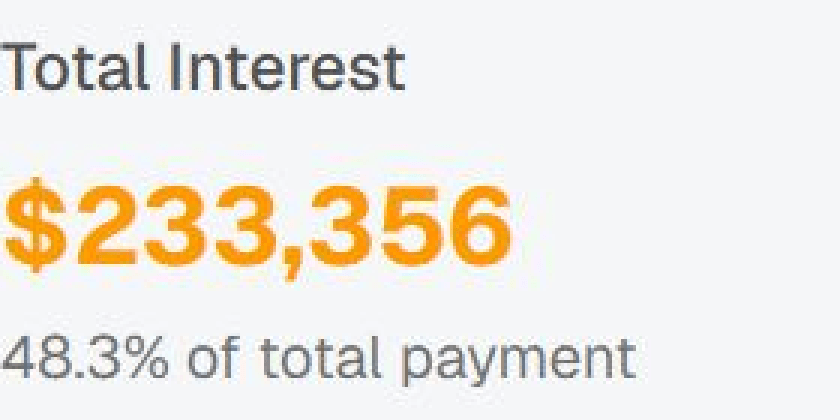
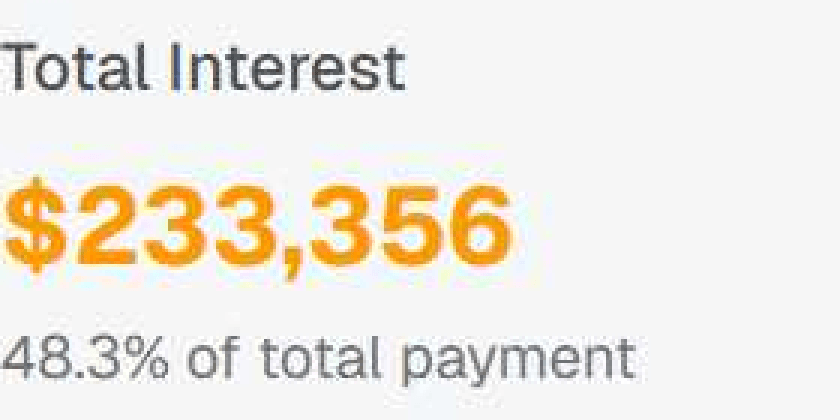
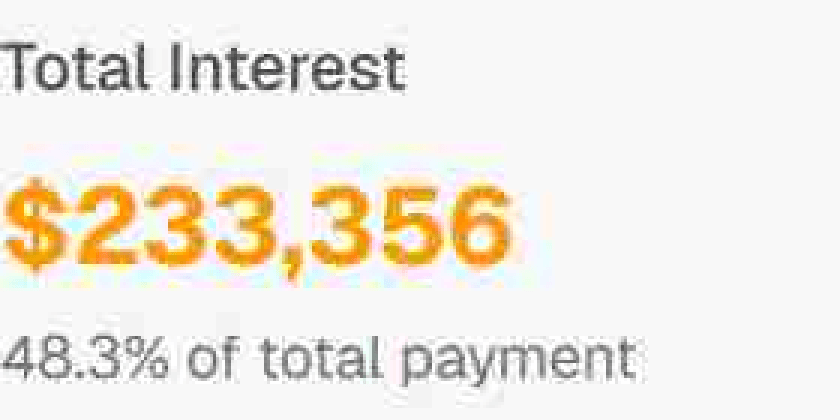
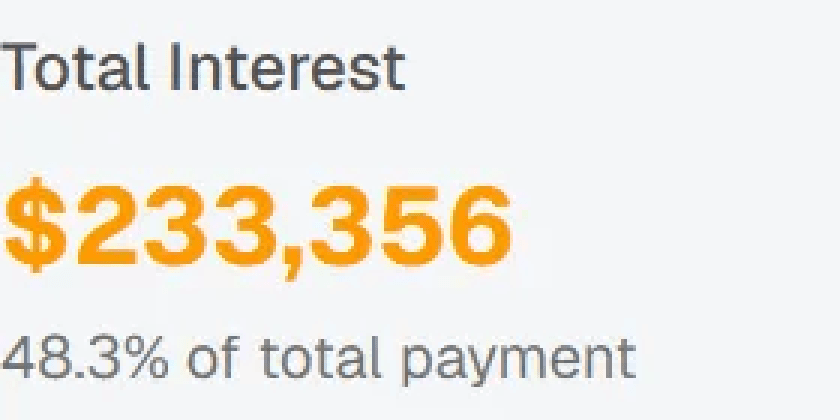
This is why the right setting depends on what is in the picture. A photo hides compression noise in its texture, so you can go quite low. A screenshot, a logo or a chart is flat colour with hard edges, and JPG smears those edges first.
Resize first: file size follows pixel count
Quality is only one of the two things that decide file size. The other is how many pixels there are. We saved the portrait at 80% quality at seven widths:
| Width | Pixels (vs 1024 px) | File size | Size (vs 1024 px) |
|---|---|---|---|
| 1024 px | 100% | 122 KB | 100% |
| 800 px | 61% | 77 KB | 64% |
| 640 px | 39% | 54 KB | 44% |
| 512 px | 25% | 38 KB | 31% |
| 400 px | 15% | 24 KB | 20% |
| 320 px | 10% | 17 KB | 14% |
| 256 px | 6% | 13 KB | 10% |
The rule of thumb that falls out of this: halving the width leaves about a third of the file. File size tracks pixel count closely, falling slightly slower than the pixels do once the picture gets small.
For a phone photo this matters a lot. A 4000×3000 photo (12 megapixels) shown at 1600×1200 on a web page has only 16% of the pixels, so by the table above you should expect roughly a fifth of the file before touching quality at all. That is our arithmetic, not a test on a 12 MP file. If the picture will never be displayed at 4000 px, those extra pixels are pure weight. The Image Resizer sets exact dimensions, and our guide to social media sizes lists the ones platforms actually use.
Hitting an exact size: 200 KB, 100 KB, 50 KB or 20 KB
Upload forms often cap a file at a fixed size. For each cap we found the highest JPG quality that fits, for the portrait at four widths. A dash means even 100% quality fits, so no quality loss is needed.
| Limit | At 1024 px | At 800 px | At 600 px | At 400 px |
|---|---|---|---|---|
| 500 KB | 98% | 99% | – | – |
| 200 KB | 91% | 96% | 99% | – |
| 100 KB | 73% | 87% | 94% | 99% |
| 50 KB | 33% | 60% | 81% | 94% |
| 20 KB | 9% | 16% | 31% | 72% |
The product photo behaved the same way and needed slightly higher quality to fit (for 50 KB: 53% at 1024 px, 77% at 800 px). Bold cells are where quality fell low enough to see damage.
Read the table like this. Up to 200 KB you can leave the dimensions alone. At 100 KB you can still keep a 1024 px photo at around 73–84%. From 50 KB down, forcing a big picture into the limit means dropping quality into the damaged zone, and you get a much better result by shrinking the dimensions instead.
For a fixed limit, the Compress Image to KB tool does the search for you: pick 200, 100, 50, 20 or 10 KB, or type your own. For exam and job forms that also ask for exact pixel dimensions, use the Exam Photo & Signature Resizer.
JPG, WebP or PNG: pick by what is in the picture
We matched the quality score of each JPG setting and checked how big a WebP at the same score would be. The saving depends heavily on the kind of image:
| Image | JPG at 80% | WebP at the same score | WebP saving |
|---|---|---|---|
| Portrait photo | 119 KB | 84 KB | 29% |
| Product photo | 84 KB | 47 KB | 45% |
| UI screenshot | 207 KB | 79 KB | 62% |
So WebP is a safe win everywhere a browser shows the image, and a big one for screenshots, logos and interface graphics. For our screenshot, a lossless PNG was 373 KB, JPG at 95% was 353 KB (still lossy, and nearly as big) and WebP at 80% was 107 KB. The catch is outside the browser: some upload forms, older apps and print shops reject WebP. If a person or a form you don't control will open the file, JPG is the safe choice. Our format guide covers which to send where, and the Image Converter switches between them.
Does saving a JPG again and again ruin it?
The usual warning is that every re-save makes a JPG worse. In our tests that is only half true. We took the portrait, saved it at 75%, then opened and saved the result again, up to 25 times.
| Saves | Re-saved unchanged | Re-saved after shifting 1 px |
|---|---|---|
| 1 | 38.4 dB · 102 KB | 38.3 dB · 104 KB |
| 2 | 38.3 dB | 36.7 dB |
| 5 | 38.3 dB | 34.6 dB |
| 10 | 38.3 dB | 32.5 dB |
| 25 | 38.3 dB · 102 KB | 28.8 dB · 111 KB |
Opening a JPG and saving it again at the same quality with no edits changed almost nothing, because the encoder sees the same blocks and makes the same choices. But when we nudged the picture by a single pixel between saves, which is what a crop, a resize or a small rotation does, the blocks no longer lined up. Each save added fresh damage, the score fell from 38 dB to under 29 dB after 25 rounds, and the file even crept up in size. The practical rule: keep your original, make every edit on it, and export once at the end.
A two-minute recipe
- Keep the original. Never overwrite it. Work on a copy.
- Pick the display size. If it will be shown 1200 px wide, resize to 1200 px wide (2× that if you want it sharp on high-density screens), not 4000.
- Choose the format. Photo for the web: WebP or JPG. Screenshot, logo or text: WebP, or PNG if you need lossless. Going to a person or a form: JPG.
- Open the Image Compressor and start at 80%. The “Balanced” preset is 75%, “High quality” is 90%, “Smallest file” is 40%.
- Check the preview at the size people will see it, then lower the slider until you first notice a difference and step back up two notches.
- If the size is still too big, shrink the dimensions before you lower quality below about 60%.
The tool runs in your browser, so the photo is not uploaded anywhere while you experiment.
Mistakes that make files bigger or worse
- Saving a screenshot as JPG. It was 353 KB at 95%, no better than the PNG, and fuzzy at lower settings.
- Compressing at 100% “to be safe”. This is how a 687 KB photo became 897 KB.
- Enlarging a small image and then compressing it. The extra pixels are invented, so they add size without adding detail. Resize down, never up, for file size.
- Confusing DPI with file size. Changing the DPI label does not change the number of pixels, so it does not shrink the file. See our DPI guide for what it does change.
- Stacking edits between saves. As the table above shows, shifting the pixels between saves is what makes a JPG degrade.
What we didn't test
We left out AVIF and HEIC, other JPEG encoders such as MozJPEG (which can produce smaller files than the browser's encoder) and very large camera files. If you have a case we should measure, such as a 12 MP phone photo or a specific upload form, tell us and we will add the result here.


